Print Guide · 8 min read
Sticker Design — Materials, Finishes & Print-Ready Files
A working designer's guide to sticker design: how to choose between vinyl and paper, when matte beats gloss, how to set up die-cut shapes, and the exact file settings our press needs so your colours print the way you drew them.
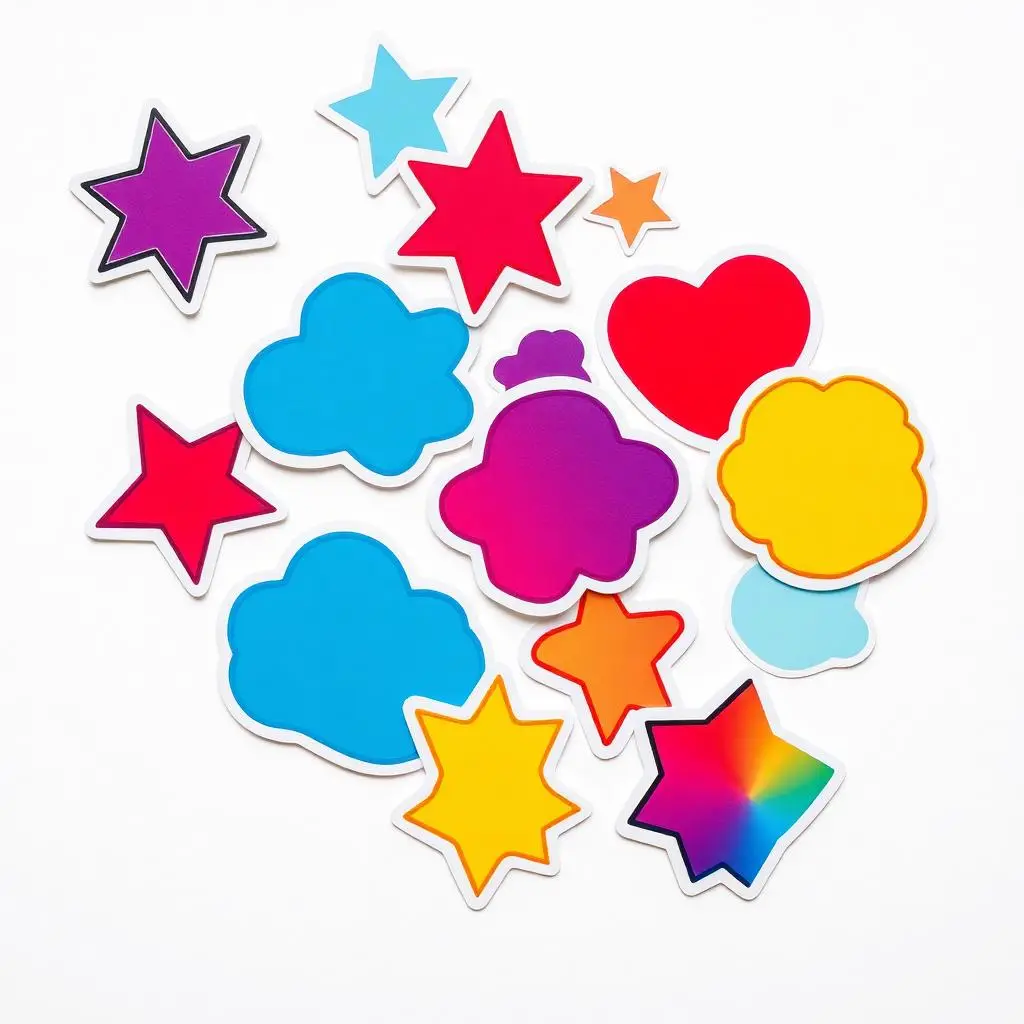
Start with where the sticker will live
Every good sticker design decision follows from one question: where does it get stuck, and for how long? A label on a cold beverage bottle, a laptop sticker handed out at an event and a two-year outdoor signage decal need three different builds — even if the artwork is identical.
Vinyl vs paper stickers
Paper is the budget choice and prints beautifully, but it swells with moisture and tears when peeled. Vinyl costs more per piece and survives water, sunlight, scratching and handling. For anything a customer keeps, pick vinyl.
- Paper: indoor, single-use, seals and short promos.
- White vinyl: the default all-purpose sticker.
- Transparent BOPP: a "no-label" look on glass and clear bottles — remember that light colours disappear on dark surfaces unless you add a white underprint.
- Metallic / kraft: texture-led branding; keep artwork bold, fine gradients get lost.
Matte or gloss? Choosing a finish
Matte laminate slightly mutes saturated colours — around 5–10% visually. If your brand red matters, either go gloss or push the saturation a touch in the artwork and ask us for a proof.
Designing for die-cut shapes
Custom shapes are what make a sticker feel designed rather than printed. They also punish sloppy files — the blade has a tolerance of about 1 mm, so your artwork has to forgive it.
- Keep the cut line simple — avoid thin spikes and cut-outs narrower than 5 mm.
- Add a 2–3 mm border (a "keyline") around the design so a slightly off cut still looks intentional.
- Extend the background 3 mm past the cut line as bleed.
- Keep text and logos 3 mm inside the cut line.
- Supply the cut path as a separate vector layer, stroke only, named CutContour.
Colour, contrast and small text
Screens are backlit; stickers are not. Designs that look punchy in your design app often print darker and flatter. Build in contrast deliberately.
- Work in CMYK; convert brand colours before you commit to them.
- Avoid text below 6 pt, and avoid thin serif fonts under 8 pt.
- Rich blacks (C40 M30 Y30 K100) look deeper than plain K100 on large fills.
- Fine gradients can band on small stickers — flatten to two or three steps if in doubt.
Print-ready file checklist
Not sure? Upload whatever you have on the product page — we check every file before printing and tell you if something needs fixing.
Frequently asked questions
What size should a sticker be?
50–75 mm is the sweet spot for giveaways and laptop stickers, 25–40 mm for product seals, and 100 mm+ for signage. Print a paper mock-up at actual size and hold it against the surface before ordering.
Can I print white ink on transparent stickers?
Yes. Transparent stickers need a white underprint layer wherever you want opaque colour. Supply that layer separately, or tell us which elements should be opaque.
How many stickers should I order?
Per-piece cost drops sharply with quantity because setup is fixed. Order a small test batch of a new design first, then scale up once you've seen the colours in hand.
Do you help with the sticker design itself?
Yes — send us a rough idea, a logo or a reference and our studio in Bengaluru will set up print-ready artwork with the correct bleed and cut path.